
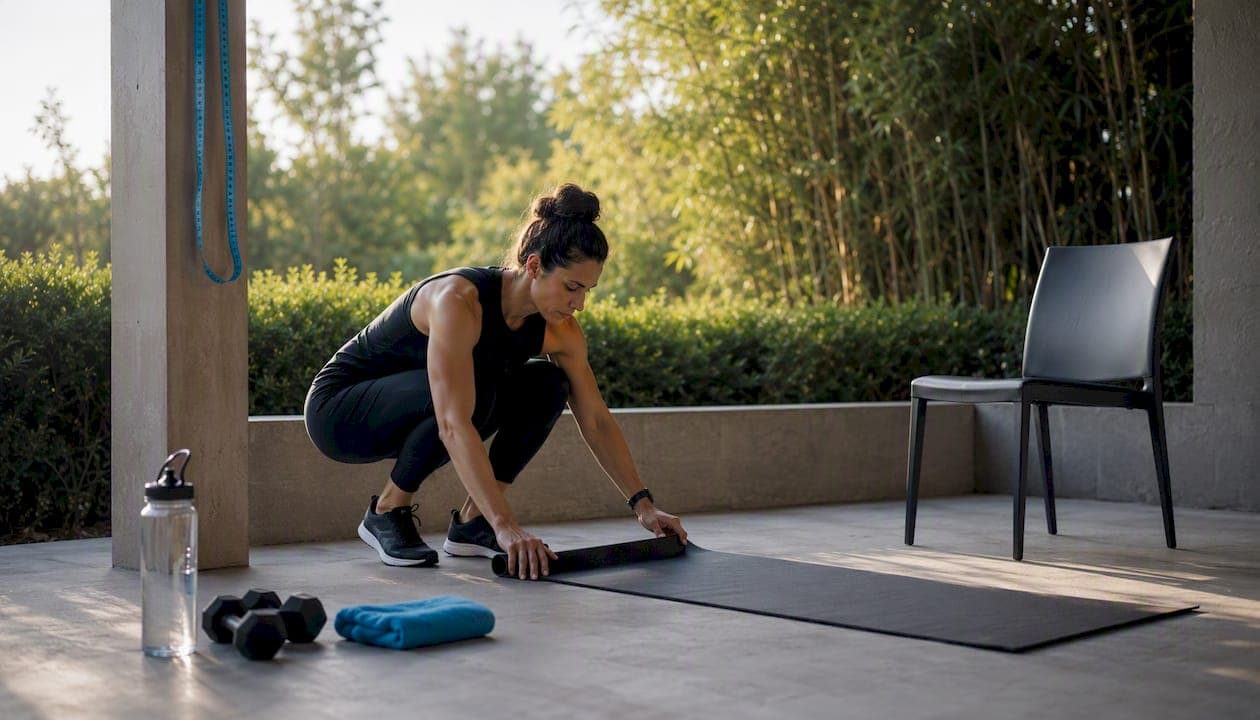
Here is your one-page beginner fitness assessment checklist — the fastest way to establish a safe, measurable baseline before you write a single workout plan. Complete a PAR-Q+ health screen first, gather a few basic tools, then run through these five areas in order:
- Health screen: Complete the PAR-Q+ questionnaire and confirm you have no red-flag symptoms.
- Resting heart rate: Measure first thing in the morning, before getting out of bed.
- Cardio test: 1-mile walk/run, 3-minute step test, or 10-minute brisk walk — pick one and stick with it.
- Strength and endurance: Max push-ups (or knee push-ups) in 60 seconds, plus a forearm plank hold to form failure.
- Flexibility/mobility: Sit-and-reach test and a quick overhead squat observation.
- Body composition: Body weight, BMI, and waist circumference.
- Record and retest: Log every result with the date, time of day, and how you felt. Retest in 4–8 weeks.
Your baseline is not a grade. It is a starting line. Every number you record today becomes the reference point that makes your progress visible — and visible progress is what keeps you going.
NASM places health screening as the mandatory first step in any fitness evaluation, and Mayo Clinic recommends covering all five fitness components — aerobic fitness, muscular strength, muscular endurance, flexibility, and body composition — to get a complete picture. That is exactly what this checklist does.
Key Takeaways
A complete beginner fitness assessment checklist covers five components — aerobic fitness, strength, endurance, flexibility, and body composition — recorded under consistent conditions and retested every 4–8 weeks to show real progress.
| Point | Details |
|---|---|
| Start with the PAR-Q+ | Complete the health screen before any test to confirm it is safe to exercise. |
| Cover all five components | Test cardio, push-ups/plank, sit-to-stand, sit-and-reach, and waist circumference for a full picture. |
| Standardize conditions | Test at the same time of day with the same warm-up so retests are genuinely comparable. |
| Retest every 4–8 weeks | Four weeks suits beginners in a new program; 8 weeks works once you have a few cycles completed. |
| Repphilosophy next step | A trial session at 4S Ranch or the virtual exercise library turns your baseline into a structured beginner plan. |
Table of Contents
- Why the PAR-Q+ comes before every other step
- What to prepare before you start testing
- How to run your cardio tests as a beginner
- Strength and endurance tests scaled for beginners
- Flexibility and mobility checks you can do at home
- Body composition measures and their real limits
- How to record results and interpret what they mean
- How to set one realistic goal and plan your retest
- When to stop testing and when to call a clinician
- Your printable one-page fitness assessment form
- Why these specific tests were chosen
- How Repphilosophy uses this checklist with beginners
- Simple tests beat complicated metrics for beginners
- Ready to take your baseline further with Repphilosophy?
- Sources
Why the PAR-Q+ comes before every other step
The Physical Activity Readiness Questionnaire for Everyone, known as the PAR-Q+, is a short pre-exercise screen designed to flag anyone who needs medical clearance before testing or starting a new program. NASM endorses it as the essential first step in any personal fitness assessment because it surfaces cardiovascular, metabolic, and musculoskeletal risks that could make unsupervised testing dangerous.
Stop and seek medical clearance before testing if you answer "yes" to any PAR-Q+ question, or if you experience:
- Chest pain or pressure at rest or during light activity
- Dizziness, lightheadedness, or fainting
- Uncontrolled high blood pressure (above 160/100 mmHg)
- Recent surgery or an acute injury
- A known cardiovascular or metabolic condition not currently managed by a clinician
Pro Tip: Keep a signed, dated copy of your completed PAR-Q+ on file. If you plan to retest every 4–8 weeks, update it annually or any time your health status changes.
Parents assessing younger athletes should also review the youth fitness program checklist for age-specific screening guidance.
What to prepare before you start testing
Reliable results depend on consistent conditions. Gather these minimal tools before your first session:
- Stopwatch or phone timer
- Tape measure (for waist circumference and sit-and-reach)
- Bathroom scale
- A sturdy chair (for sit-to-stand)
- Exercise mat
- Notebook or a printed assessment form
Environment: Test on a flat, non-slip surface in a well-ventilated room. Test at the same time of day for every retest — morning sessions before meals tend to be the most consistent. Standardizing conditions like time of day, pre-test nutrition, and warm-up protocol is what makes your repeat tests actually comparable.
Warm-up checklist (5–10 minutes):
- 3–5 minutes of light cardio (marching in place, slow walking)
- Leg swings (10 per side)
- Arm circles (10 forward, 10 backward)
- Hip circles (10 per side)
- Bodyweight squats, slow and controlled (8–10 reps)
Never skip the warm-up before testing. Cold muscles produce lower scores and higher injury risk, which means your baseline will look worse than it actually is.
How to run your cardio tests as a beginner
Mayo Clinic's fitness framework places aerobic fitness at the top of the five-component model, and for good reason — your cardiovascular baseline predicts how well you will tolerate any training program. Pick one of these options and use the same one every retest:
- 1-mile walk/run: Walk or jog one mile on a flat surface. Record your total time and your heart rate immediately at the finish.
- 3-minute step test: Step up and down on a 12-inch step at a steady pace for 3 minutes. Sit down and count your heart rate for 60 seconds.
- 10-minute brisk walk: Best for very deconditioned beginners. Record distance covered and heart rate at the end.
For each test, record three numbers:
- Time (or distance, for the brisk walk)
- Immediate post-exercise heart rate (beats per minute)
- Rate of perceived exertion (RPE) on a 1–10 scale (1 = barely moving, 10 = maximum effort)
Compare your results to the age- and sex-adjusted normative ranges available through Mayo Clinic's fitness guide.
Pro Tip: Measure your resting heart rate first thing in the morning, before you stand up. Do this on three consecutive mornings and average the results for the most reliable baseline.
Strength and endurance tests scaled for beginners
A three-part assessment covering body composition, movement, and work capacity gives trainers the practical baseline data they need to build effective programs. For beginners, the strength and endurance component comes down to three accessible tests:
Push-up test: Perform as many push-ups as possible in 60 seconds with good form. Hips stay level, chest comes close to the floor, and elbows track at roughly 45 degrees. Stop the clock the moment form breaks.
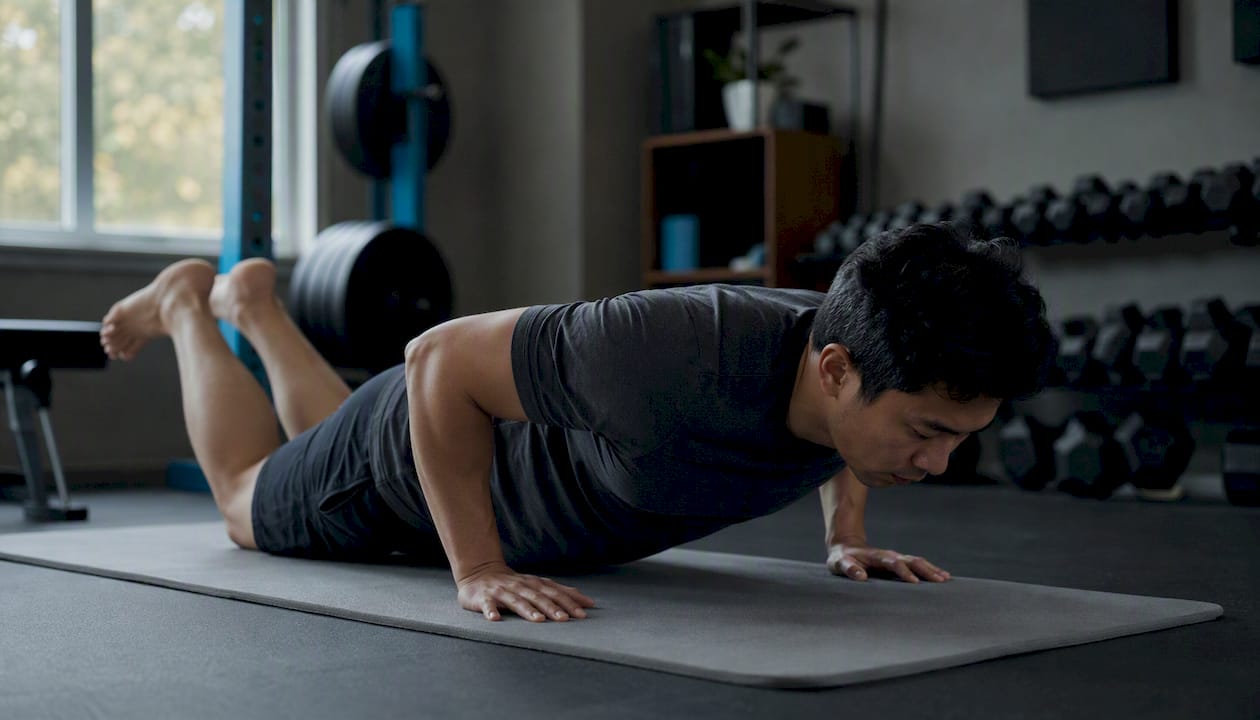
Forearm plank hold: Hold a forearm plank until your hips sag or rise noticeably. Record the time in seconds.
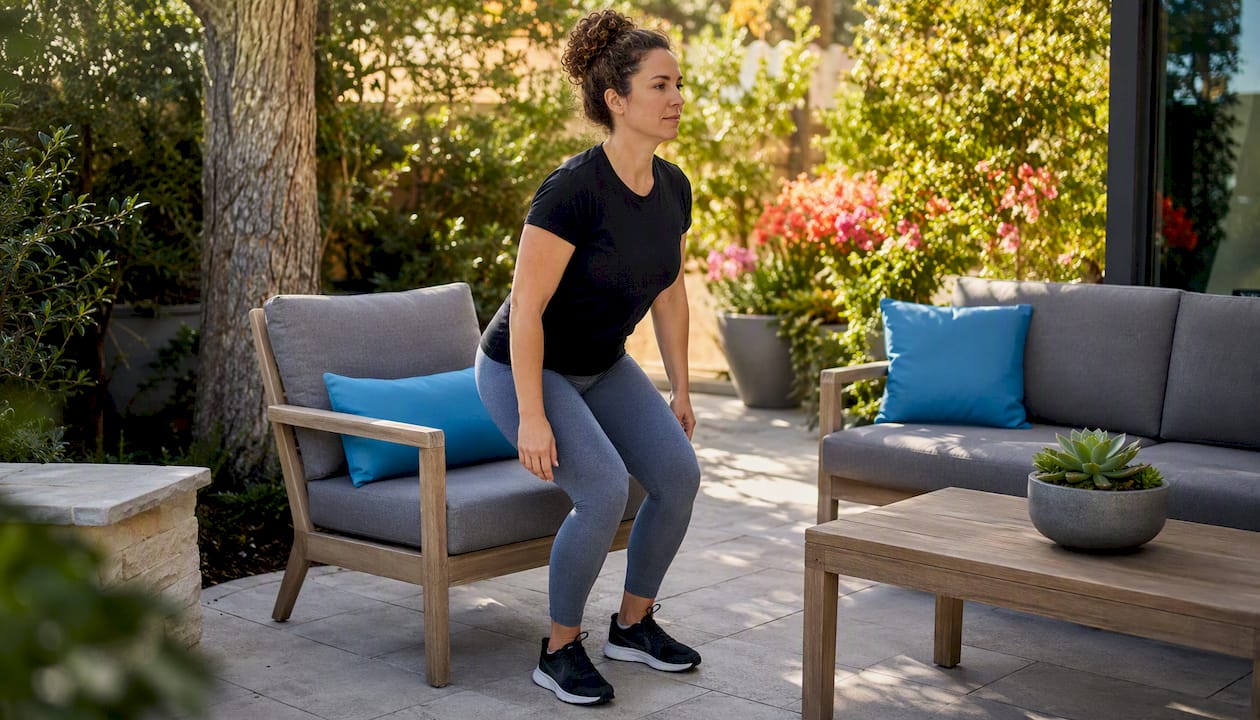
Sit-to-stand (30-second chair rise): From a seated position in a standard chair, stand fully upright and return to seated as many times as possible in 30 seconds. Arms crossed over the chest, no pushing off the armrests.
| Test | Standard | Scaled (Beginner) | Progression Target |
|---|---|---|---|
| Push-up | Full push-up, 60 sec | Knee push-up, 60 sec | Move to full push-up when you hit 10 reps |
| Plank hold | Forearm plank, toes | Forearm plank, knees | Add 10 sec per retest cycle |
| Sit-to-stand | No arm support | Fingertip armrest touch | Remove armrest support over 4–6 weeks |
For heavier beginners or those with joint concerns, the strength training guide for overweight beginners covers safe scaling in more detail.
Flexibility and mobility checks you can do at home
Movement capability self-checks help you spot limitations before they become injuries. Run through these three screens after your warm-up:
- Overhead squat observation: Stand with feet shoulder-width apart, arms overhead. Squat slowly to parallel. Note whether your knees cave inward, your heels lift, or your arms fall forward.
- 90/90 hip test: Sit on the floor with both legs bent at 90 degrees (one in front, one to the side). Sit tall without leaning. Note which side feels restricted.
- Ankle-to-wall dorsiflexion: Kneel facing a wall, big toe 4 inches from the baseboard. Drive your knee toward the wall without lifting your heel. Measure the gap (or confirm contact) on each side.
For the flexibility measure, use a simple sit-and-reach: sit on the floor with legs straight, feet flat against a box or wall. Reach forward as far as possible and mark the distance in inches (or centimeters) from your heels. Record the number and the side that feels tighter.
Compensations like knee cave, heel lift, or uneven side-to-side range often point to hip flexor tightness, limited ankle mobility, or weak glutes. Noting them now means your program can address them directly rather than training around a problem that gets worse. A functional movement screening resource can walk you through a more detailed screen if you want to go deeper.
Body composition measures and their real limits
Practical body-composition checks for beginners include body weight, BMI, and waist circumference. A basic fitness assessment often also includes resting heart rate and blood pressure as baseline metrics alongside these measures.
Waist circumference is measured at the narrowest point between your lower ribs and hip bones, after a normal exhale. A measurement above 35 inches for women or 40 inches for men is associated with higher metabolic risk, according to standard clinical guidelines.
BMI and bioelectrical impedance (BIA) scales are useful trend metrics, not diagnostic tools. BMI does not account for muscle mass, and BIA readings shift with hydration levels. Treat both as one data point among several, not as the final word on your health. Combining composition data with your performance scores gives you a much fuller picture than any single number alone.
How to record results and interpret what they mean
Every result needs context to be useful. Log these fields for each test session:
- Date and time of day
- Hours of sleep the night before
- Pre-test meal timing (fasted or fed, and how long ago)
- Any soreness or illness
- Test results with units (seconds, reps, inches)
- RPE for each test
A sample log row might look like: July 14, 7:00 AM / 7 hrs sleep / fasted 10 hrs / no soreness / Push-ups: 12 reps / Plank: 45 sec / RPE 7.
On retest, a lower RPE at the same output is a genuine fitness gain even when the raw number looks similar. Tracking percent change rather than absolute scores keeps motivation grounded in real progress. For more on reading your results over time, the fitness progress tracking guide breaks down what meaningful change looks like week by week.
How to set one realistic goal and plan your retest
Your weakest test result is your first goal. Not all of them — just one. Pick the area with the most room for improvement and write a SMART goal around it: specific, measurable, achievable, relevant, and time-bound.
Example: "Increase my plank hold from 20 seconds to 50 seconds within 6 weeks by practicing 3 times per week."
Retesting every 4–8 weeks balances enough time for real adaptation with timely feedback. Four weeks suits beginners starting a structured program; 8 weeks works well once you have a few cycles under your belt. Between formal retests, log one weekly check-in: note energy levels, how a key exercise felt, and whether your RPE is trending down.
A simple timeline looks like this: Week 1 — complete baseline assessment → Weeks 2–6 — follow beginner program → Week 7 — full retest, compare to baseline, adjust one goal. For help building that 6-week program, the progressive fitness programming guide walks you through structuring your first training block. Goal-setting tips grounded in assessment data are also covered in how to set weight loss goals that actually stick.
When to stop testing and when to call a clinician
Stop any test immediately if you experience:
If you have a controlled chronic condition (managed type 2 diabetes, controlled hypertension, or mild osteoarthritis), you can often still complete most tests with clinician approval and appropriate scaling. Skip high-impact options and choose the lowest-intensity version of each test. The PAR-Q+ flags map directly to these conditions — a "yes" answer on the questionnaire is your signal to get that clearance conversation before you test.
Your printable one-page fitness assessment form
Copy this layout into a notebook or print it before your first session:
Header: Name / Date / Time of Day / PAR-Q+ Completed? (Yes/No)
Warm-up completed? ☐ 5-min light cardio ☐ Leg swings ☐ Arm circles ☐ Hip circles ☐ Bodyweight squats
Notes / Conditions: __________________________________
Next retest date: _______________
Start by completing the PAR-Q+, then run through the warm-up checklist before recording a single number. Consistent form and consistent conditions are what make the retest meaningful.
Why these specific tests were chosen
Every test on this checklist meets three criteria: low equipment cost, repeatability across sessions, and an established normative reference where available. Mayo Clinic's five-component fitness model — aerobic fitness, muscular strength, muscular endurance, flexibility, and body composition — shaped the test selection directly. NASM's PAR-Q+ guidance anchors the safety layer. The OPEX three-part framework (body composition, movement, work capacity) informed how the tests are grouped.
Field tests are useful baselines, not clinical diagnostics. If your results raise concerns — very high resting heart rate, significant asymmetry in mobility, or body-composition measures well outside normal ranges — those findings warrant a conversation with a clinician or a certified trainer, not just a program adjustment.
Primary sources used: Mayo Clinic fitness guide, NASM assessment resource center, OPEX Fitness blog, Team All American benchmark testing guide, Nourish Move Love at-home fitness test, Penn State fitness assessment overview.
How Repphilosophy uses this checklist with beginners
At Repphilosophy, the initial check-in follows the same structure: PAR-Q+ confirmation, a baseline session covering the five test categories, and a 6-week beginner program built around the weakest result. If mobility is the limiting factor, the first block prioritizes corrective work and technique. If aerobic capacity is the gap, the program builds an aerobic base before adding intensity.
Practical next steps Repphilosophy offers after a baseline assessment:
- A free consultation to review your self-test results and identify the right starting point
- A personalized beginner program targeting your specific weak areas
- Access to the virtual exercise library for guided progressions between in-person sessions
- Supervised technique sessions at the 4S Ranch facility to confirm form before loading
Simple tests beat complicated metrics for beginners
Most beginners I work with arrive convinced they need a VO2 max test or a DEXA scan before they can start training. They do not. What they need is a push-up count, a plank time, and a walk test they can repeat six weeks later.
The real value of a field test is not the number itself. It is the comparison. A plank hold that goes from 18 seconds to 45 seconds in six weeks tells you something a lab test cannot: that you showed up, did the work, and got stronger. That feedback loop is what builds the habit. Lab-based testing has its place — for competitive athletes, post-rehabilitation cases, or medical monitoring — but for a beginner, complexity is a barrier, not an advantage. The simpler the test, the more likely you are to actually retest it.
Ready to take your baseline further with Repphilosophy?
You have the checklist. Now picture doing it with a coach standing next to you, catching the form break on your push-up, noting the knee cave on your squat, and turning those raw numbers into a program that actually fits where you are right now.
That is exactly what a personal training trial session at Repphilosophy delivers. One 60-minute session at the 4S Ranch facility covers a supervised baseline assessment and a clear plan for what comes next — no guesswork, no generic program. Prefer to train on your own schedule? The on-demand exercise library gives you guided progressions you can follow from anywhere, built around the same test categories in this checklist. Book your trial session here and walk in knowing exactly what to expect.
Sources
These primary references shaped every element of this checklist:
- Nasm
- How fit are you? See how you measure up
- Athlete Benchmark Testing Guide: Build a Performance Baseline Free | Team All American
- The Three Areas to Test in a Fitness Assessment | OPEX Fitness
This article is general information, not a substitute for advice from a qualified doctor. Consult a qualified healthcare professional about your own circumstances before acting on anything here.