
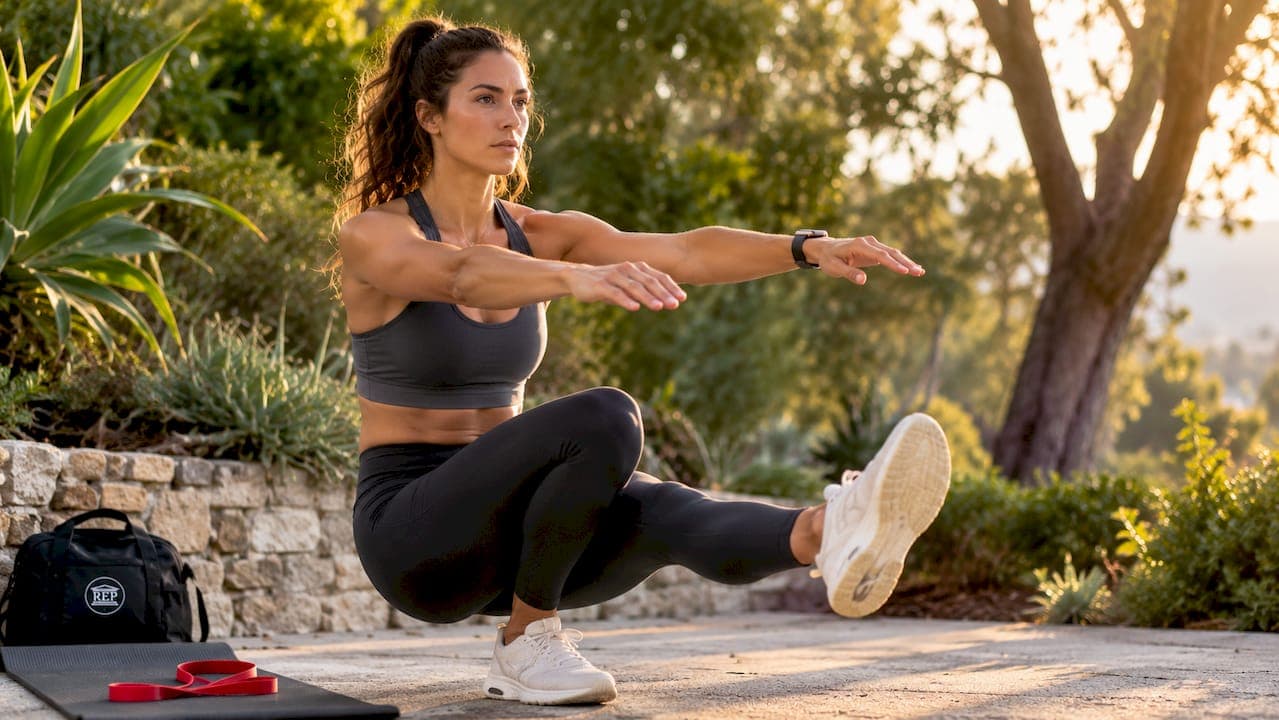
A knee collapse fix is a structured rehabilitation approach that restores hip strength, neuromuscular coordination, and joint alignment to stop your knee from caving inward during movement. The clinical term for this pattern is dynamic knee valgus, and it shows up in squats, lunges, stair climbing, and even walking. Dynamic knee valgus affects roughly 62% of recreational lifters under load and increases patellofemoral joint stress by up to 45%. That level of added pressure, repeated across hundreds of reps, accelerates cartilage wear and raises your injury risk significantly. The good news is that most people see real improvement within 4 to 6 weeks of targeted hip abductor strengthening and neuromuscular cueing.
What causes knee collapse and why it happens
Knee instability is almost never a knee problem at its source. The knee is caught in the middle, reacting to what the hip and ankle fail to do.
The most common driver is weak hip abductors and external rotators. When the gluteus medius and maximus cannot hold the femur in a neutral position, the thigh rotates inward and the knee tracks toward the midline. That inward drift is what you see as knee collapse. Pelvic stabilization exercises that target these muscles have been shown to produce a significant decrease in valgus angle and a measurable increase in muscle activation over six weeks.
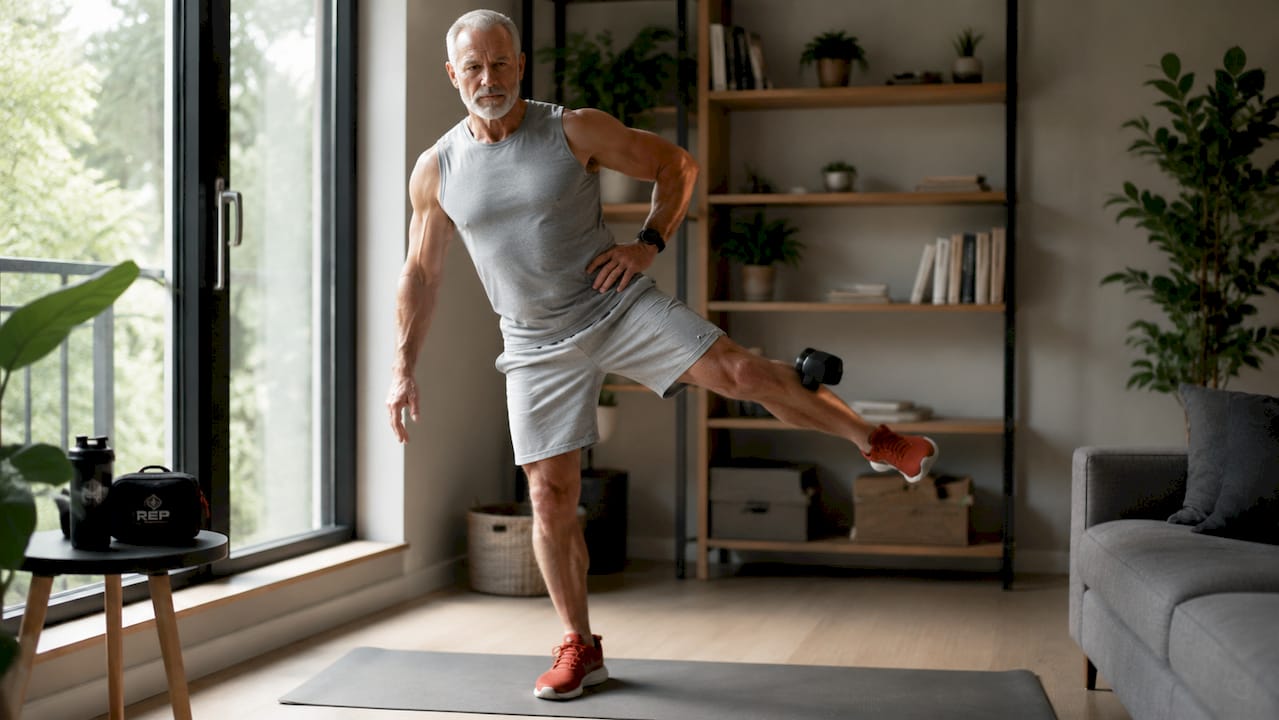
Ankle mobility plays a bigger role than most people expect. When the ankle cannot dorsiflex freely, the body compensates by letting the knee cave inward to keep the heel on the ground. Limited ankle dorsiflexion is a direct contributor to knee valgus, and it requires a different fix than hip weakness does.
Neuromuscular control deficits add another layer. Your nervous system may simply not be firing the right muscles at the right time, especially under fatigue. This is why knee collapse often gets worse toward the end of a set or a long run, not just at the start.
Here are the primary causes worth screening for:
- Weak hip abductors and external rotators pulling the femur inward
- Limited ankle dorsiflexion forcing compensatory knee drift
- Neuromuscular timing deficits reducing real-time muscle activation
- Fatigue-related breakdown in glute medius endurance during sustained activity
- Structural issues such as ligament laxity or prior injury that need medical clearance
Ruling out structural damage matters before you start loading the joint. Sudden giving way or sharp pain signals a need for orthopedic evaluation to exclude ligament tears or mechanical joint problems.
What should you assess before starting a knee collapse fix program?
Jumping straight into exercises without a baseline assessment is one of the fastest ways to stall your progress or make things worse. A few simple checks tell you a lot about where your collapse is coming from.
The elevated heel squat test is one of the most useful tools you have. Place small plates or a wedge under your heels and perform a bodyweight squat. If heel elevation normalizes your knee tracking, ankle dorsiflexion is the primary limitation. If your knees still cave with elevated heels, hip muscle control is the main culprit. That distinction changes your entire program design.
Video and mirror feedback are underused and genuinely powerful. Recording yourself from the front during a squat or single-leg stance gives you objective data that your own perception cannot provide. Most people are surprised by how much their knees actually move compared to how much they think they move.
Run through these baseline checks before programming anything:
- Single-leg squat to a box: Watch for knee drift, hip drop, or trunk lean
- Elevated heel squat: Differentiates ankle mobility from hip control deficits
- Hip abductor strength test: Side-lying leg raise with resistance to gauge baseline strength
- Ankle dorsiflexion screen: Knee-to-wall test with foot 4 inches from the wall
- Pain and instability history: Note any sharp pain, locking, or giving way episodes
Pro Tip: Film yourself from the front during a single-leg squat and play it back in slow motion. You will catch knee drift that you cannot feel in real time, and it gives you a clear before-and-after comparison as you progress.
Seek a professional orthopedic assessment if you have a history of ligament injury, experience mechanical locking, or feel sharp pain during any of these screens. Conservative management with structured physical therapy improves knee stability significantly within 6 to 12 weeks, but only when structural issues have been ruled out first.
How do you fix knee collapse with a progressive exercise program?
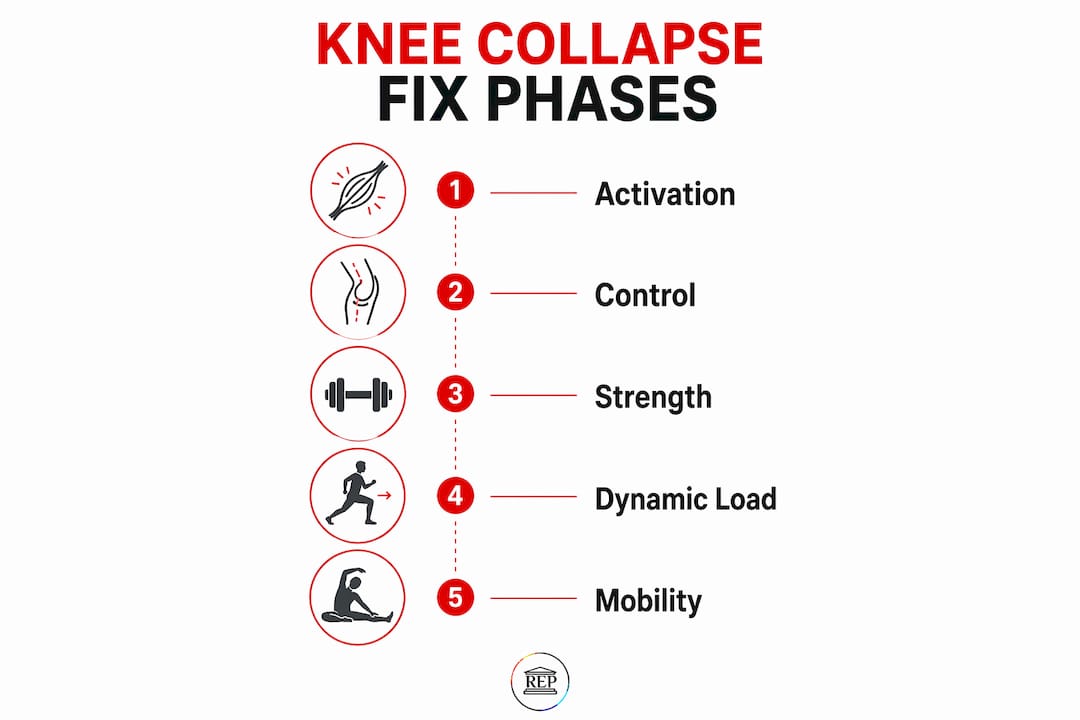
The most effective knee collapse fix follows a four-phase progression that builds neuromuscular control before adding load. Rushing through phases is the single most common reason people plateau.
Phase 1: Neuromuscular activation (weeks 1–2)
Start here regardless of your fitness level. The goal is not to fatigue the muscle. The goal is to wake it up.
- Clamshells (3 sets of 15 reps per side): Lie on your side with hips bent at 45 degrees and feet stacked. Open the top knee like a clamshell without rotating the pelvis. This isolates the gluteus medius directly.
- Glute bridges (3 sets of 15 reps): Drive through the heels and squeeze at the top. Focus on feeling the glutes fire, not the hamstrings.
- Side-lying hip abduction (3 sets of 12 reps per side): Keep the top leg straight and lift it to about 30 degrees. Slow and controlled beats fast every time here.
Phase 2: Progressive resistance (weeks 3–4)
Add resistance bands to increase the demand on your hip stabilizers.
- Banded monster walks (3 sets of 15 steps each direction): Place a resistance band just above the knees and walk laterally while staying in a quarter-squat position. These resistance band hip exercises are highly effective for building hip abductor endurance under load.
- Hip external rotation with band (3 sets of 12 reps per side): Anchor a band at ankle height and rotate the leg outward against resistance.
- Quadruped leg extension (3 sets of 10 reps per side): On hands and knees, extend one leg straight back while keeping the pelvis level. This builds hip extensor control without spinal load.
Phase 3: Closed-chain integration (weeks 5–6)
Now you bring the hip strength into real movement patterns.
- Controlled squats with mirror feedback (3 sets of 10 reps): Watch your knees track over your second toe. Use the cue "screw your feet into the floor" to activate hip external rotators automatically. This cue creates external torque that engages the key stabilizing muscles far more effectively than simply thinking "push knees out."
- Single-leg Romanian deadlifts (3 sets of 8 reps per side): Build the single-leg strength that transfers directly to walking, running, and sport.
- Step-ups (3 sets of 10 reps per side): Use a box at knee height. Control the descent slowly to build eccentric hip strength.
Phase 4: Dynamic load and ankle mobility (weeks 7–8)
- Box drops (3 sets of 6 reps): Step off a low box and land softly, focusing on knee alignment at contact.
- Lateral bounds (3 sets of 5 reps per side): Single-leg lateral jumps with a controlled landing. This tests your neuromuscular control under real athletic demand.
- Ankle dorsiflexion mobilization (daily, 2 minutes per side): Knee-to-wall stretches and banded ankle mobilizations to address any remaining mobility restriction.
Pro Tip: Keep pain at or below 3 out of 10 during every session. If it climbs above that, reduce the load or range of motion before stopping entirely. Stopping completely slows recovery more than scaling back does.
| Phase | Goal | Key exercises | Expected outcome |
|---|---|---|---|
| 1: Activation | Wake up hip stabilizers | Clamshells, glute bridges, hip abduction | Improved muscle awareness and timing |
| 2: Resistance | Build hip abductor strength | Banded walks, hip external rotation | Measurable strength gains in 2 weeks |
| 3: Integration | Apply strength to movement | Squats, single-leg RDL, step-ups | Reduced knee valgus during loaded tasks |
| 4: Dynamic load | Test under real conditions | Box drops, lateral bounds, ankle work | Confident, stable movement under load |
Train each phase three times per week. Good knee rehabilitation exercises follow this kind of structured progression to build lasting stability rather than temporary symptom relief.
Common mistakes that stall your knee collapse fix
The biggest mistake people make is treating knee collapse as a knee problem. Foam rolling the IT band and wearing a brace does not fix weak glutes. It just masks the symptom while the underlying cause keeps doing damage.
Braces are the second most common trap. Relying on a brace without active neuromuscular training decreases proprioception over time and can actually worsen instability. Braces serve as short-term support during acute phases, not as a long-term fix.
Corrective exercises must become consistent daily habits to build endurance in the gluteus medius, which is the muscle most critical for frontal plane stability when fatigue sets in. A few sessions per week is a starting point, not a finish line.
Insufficient load progression is another barrier. Staying in Phase 1 for months because it feels comfortable does not build the strength needed for real-world movement. Progress the load every two weeks if pain stays below 3 out of 10.
Watch for these red flags that signal a need for medical review before continuing:
- Sharp or stabbing pain during any exercise
- Knee giving way suddenly without warning
- Significant swelling after activity
- Pain that worsens progressively over multiple sessions
- Locking or catching sensation inside the joint
Track your progress with video every four weeks. Comparing your squat form at week one versus week four gives you objective proof of improvement and keeps motivation high when progress feels slow.
Key Takeaways
A knee collapse fix works by strengthening hip stabilizers, improving ankle mobility, and retraining neuromuscular control through a four-phase progressive program over 4 to 8 weeks.
| Point | Details |
|---|---|
| Root cause is the hip, not the knee | Weak gluteus medius and external rotators cause femur drift, not isolated knee weakness. |
| Assess before you train | Use the elevated heel squat test to separate ankle mobility issues from hip control deficits. |
| Follow a four-phase progression | Move from activation to resistance to integration to dynamic load over 6 to 8 weeks. |
| Avoid brace dependence | Braces reduce proprioception over time; active neuromuscular training produces lasting stability. |
| Track with video every 4 weeks | Objective feedback reveals progress and guides form corrections better than feel alone. |
What I've learned from fixing knee collapse in real people
The thing that surprises most people I work with is how quickly the nervous system responds when you give it the right input. You are not just building muscle. You are teaching your brain a new movement pattern, and that shift can happen faster than you expect.
What I have seen consistently is that people who commit to the daily habit of glute medius work, even just 10 minutes, make far better progress than those who do three hard sessions and nothing in between. Endurance in the stabilizers matters more than peak strength. Your knee collapses under fatigue, not when you are fresh and focused.
The "screw your feet into the floor" cue is one I use constantly, and it works because it bypasses the need to consciously think about every muscle. It creates the right torque automatically. Pair that with mirror or video feedback and most people see a visible change in knee tracking within two to three weeks.
Patience is the real skill here. Improvement timelines of 4 to 8 weeks feel long when your knee is bothering you every day. But the people who trust the process and progress gradually are the ones who stay pain-free long after the program ends. Rushing load progression is the fastest way to set yourself back by weeks.
— Coach Justin
Repphilosophy can support your knee stability goals
If you are ready to stop guessing and start building real knee stability with a plan designed around your body, Repphilosophy is here to help. Based in 4S Ranch, Repphilosophy offers personal training, virtual coaching, and group programs built around the kind of progressive neuromuscular work that actually fixes knee instability at the source.
Whether you prefer working one-on-one with a coach or training on your own schedule, the on-demand exercise library gives you access to structured video programs focused on hip strength, movement retraining, and knee stability. For a more personalized approach, a personal training session puts an expert coach in your corner to assess your movement, build your program, and keep you progressing safely. You deserve to move with confidence again.
FAQ
What is dynamic knee valgus?
Dynamic knee valgus is the clinical term for knee collapse, where the knee caves inward during movement due to weak hip stabilizers and poor neuromuscular control. It is the root cause that a knee collapse fix program targets.
How long does it take to fix knee collapse?
Most people see significant improvement within 4 to 6 weeks of consistent hip abductor strengthening and neuromuscular cueing, with full rehabilitation typically taking 6 to 12 weeks depending on severity.
Should I wear a knee brace while doing these exercises?
Braces can provide short-term support during acute pain, but relying on them without active neuromuscular training reduces proprioception and can worsen instability over time. Active rehabilitation is the priority.
How do I know if my knee collapse is from ankle or hip weakness?
Perform a squat with your heels elevated on plates or a wedge. If your knee tracking improves with heel elevation, ankle dorsiflexion is the primary issue. If knees still cave, hip muscle control is the main problem.
When should I see a doctor about knee instability?
Seek orthopedic evaluation if you experience sudden giving way, sharp or stabbing pain, significant swelling after activity, or a locking sensation in the joint, as these may indicate ligament damage or structural injury.